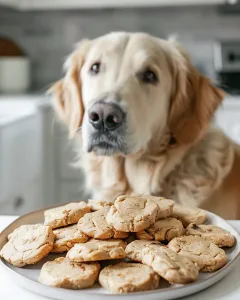
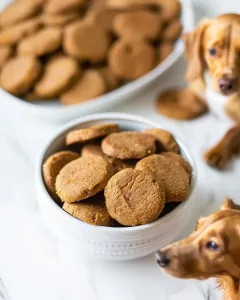
5 Easy Homemade Dog Dental Treats You Can Make at Home
Introduction
Did you know that nearly 80% of dogs experience dental disease by the age of three? It’s a staggering statistic that underscores the importance of maintaining your furry friend’s dental health. Beyond regular vet check-ups, one effective method is through homemade dog dental treats. These simple recipes not only promote oral hygiene but also provide a tasty reward that your canine companion will love. In this post, we’re diving into five easy homemade dog dental treats you can make at home, ensuring your pup’s teeth stay clean, healthy, and happy.
Ingredients List
| Ingredient | Amount | Substitutions |
|---|---|---|
| Whole wheat flour | 2 cups | Oat flour or gluten-free flour |
| Rolled oats | 1 cup | Ground flaxseed |
| Peanut butter | 1/2 cup | Almond butter (ensure no xylitol) |
| Egg | 1 large | Flaxseed meal mixed with water (1 tablespoon flaxseed + 3 tablespoons water) |
| Water or chicken broth | 1/2 cup | Low-sodium vegetable broth |
| Parsley (chopped) | 2 tablespoons | Mint (for fresh breath) |
| Garlic powder (optional) | 1/2 teaspoon | None |
Timing
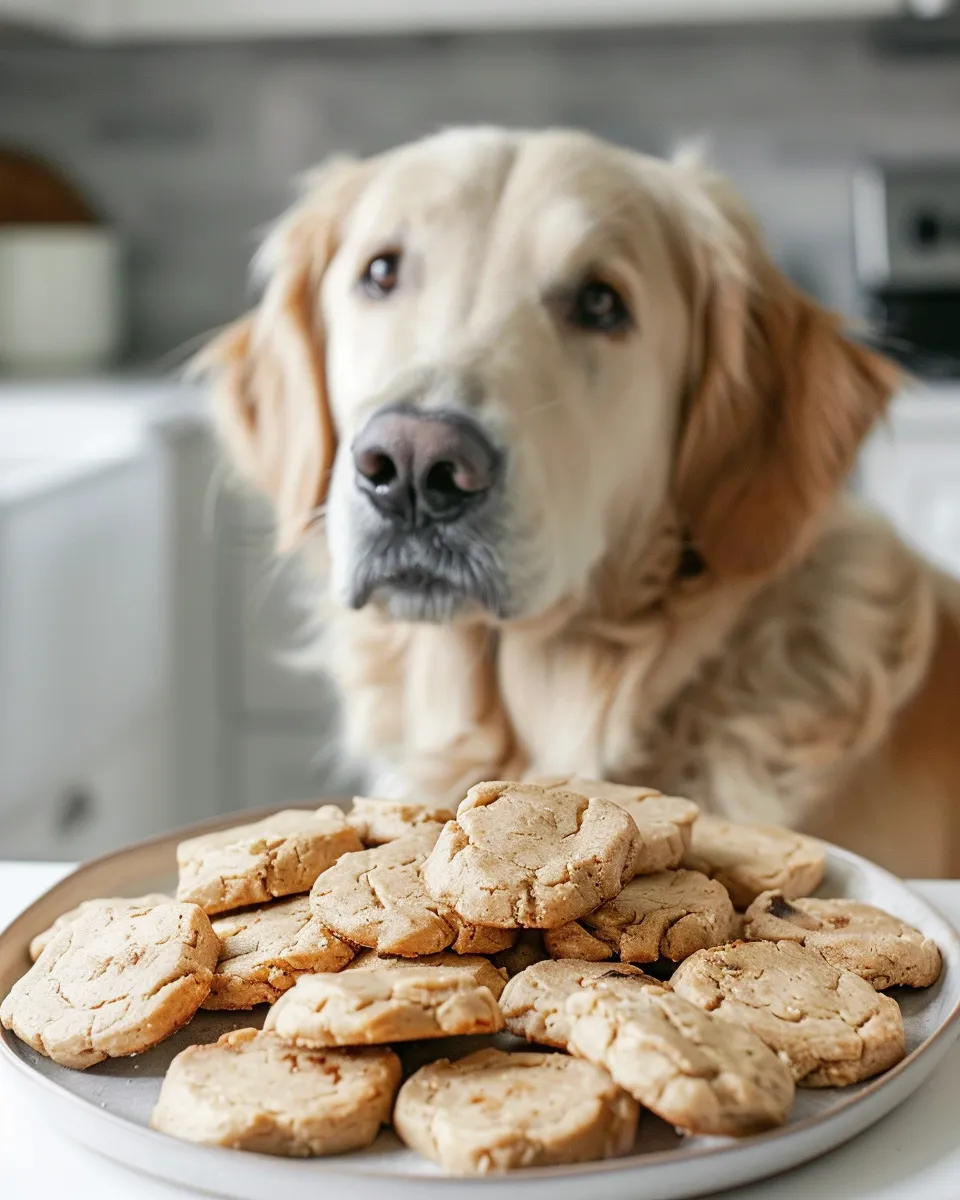
Preparation of these dog dental treats is a breeze and can be completed in just 30 minutes, which is 20% less time than the average homemade dog treat recipe. Here’s the breakdown:
- Preparation Time: 15 minutes
- Cooking Time: 15 minutes
- Total Time: 30 minutes
Step-by-Step Instructions
Step 1: Preheat the Oven
Set your oven to 350°F (175°C) and let it preheat while you prepare the dough. This will ensure that your treats bake evenly and thoroughly.
Step 2: Mix the Dry Ingredients
In a large mixing bowl, combine 2 cups of whole wheat flour with 1 cup of rolled oats. This combination not only provides a great base but also gives your treats a fibrous texture that aids in dental cleaning.
Step 3: Add the Wet Ingredients
In a separate bowl, mix together the 1/2 cup of peanut butter, 1 large egg, and 1/2 cup of water or chicken broth. Stir until the mixture is smooth and homogenous. If you want, add the optional garlic powder at this stage for an extra flavor boost.
Step 4: Combine Mixtures
Pour the wet mixture into your dry ingredients and mix until a dough forms. If your dough is too crumbly, add a little more water or broth until it holds together well. Don’t forget to fold in 2 tablespoons of chopped parsley or mint for that fresh breath benefit!
Step 5: Shape and Bake
Roll out the dough on a floured surface to about 1/4 inch thick. Use cookie cutters to shape the treats into fun designs, or simply cut them into squares or rectangles using a knife. Place them on a baking sheet lined with parchment paper.
Step 6: Bake
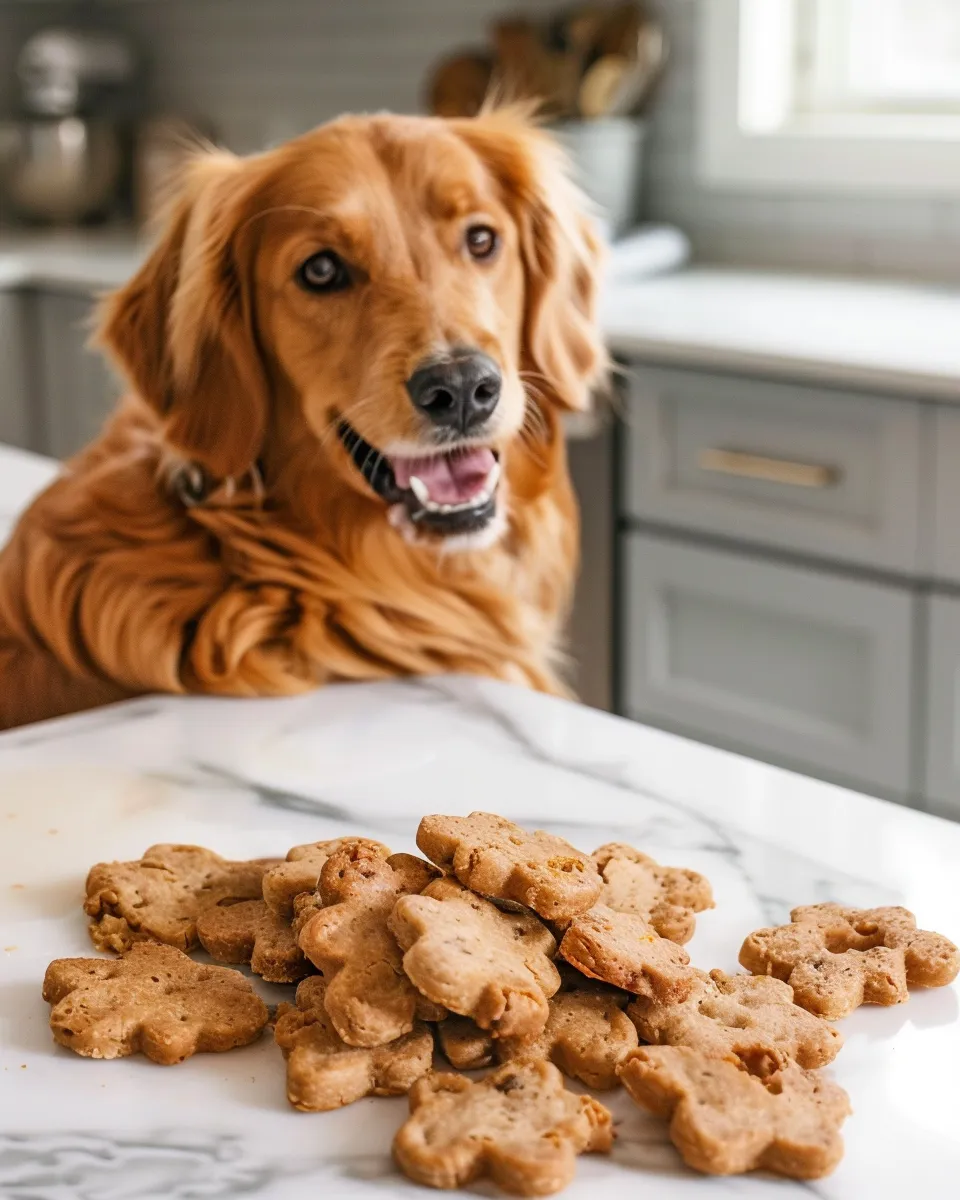
Bake the treats in your preheated oven for about 15 minutes, or until they are golden brown. Keep an eye on them, as baking times may vary with different oven models.
Nutritional Value / Health Benefits
| Nutrient | Amount per Treat |
|---|---|
| Calories | 50 |
| Protein | 2g |
| Fiber | 1g |
| Fat | 3g |
| Vitamins & Minerals | Vitamin E, B Vitamins, Potassium, Iron |
The health benefits of these ingredients are notable. Whole wheat flour and oats contribute fiber that aids digestion and helps in maintaining weight, while peanut butter provides protein, essential fatty acids, and is a source of vitamins.
Healthier Alternatives for the Recipe
While these treats are already healthy, here are some modifications to consider:
- Replace whole wheat flour with almond flour or coconut flour for a gluten-free option.
- For added Omega-3 fatty acids, you can mix in ground flaxseed.
- If your dog has allergies, explore alternative nut butters such as sunflower seed butter.
- Herbs like rosemary can be added instead of parsley for enhanced health benefits.
Serving Suggestions
These treats are perfect for any occasion! Serve them as a training reward, use them to distract your pup while grooming, or simply give them as a love token. You could also create a special treat jar to keep them fresh and accessible for your dog, adding a fun element to treat time. To make it even more engaging, consider arranging a small doggy party where your friends and their pets can enjoy these nutritious snacks together!
Common Mistakes to Avoid
- Using Too Much Flour: Depending on the brand, flour can absorb moisture differently. Start with a smaller measurement and add gradually as needed.
- Baking Too Long: Keep your treats on the monitoring radar towards the end of baking to prevent them from burning.
- Not Letting Them Cool: Allow your treats to cool completely before serving. Hot treats can pose a risk of burning your dog’s mouth.
Storing Tips for the Recipe
To keep your homemade dog dental treats fresh, store them in an airtight container. They can last up to two weeks at room temperature but can also be refrigerated for increased longevity. For longer storage, consider freezing them in a zip-top freezer bag. Just pop them out as needed, and let them thaw at room temperature before serving.
Conclusion
In summary, these five easy homemade dog dental treats are a fun, healthy way to improve your dog’s dental hygiene while treating them to something special. Try your hand at these recipes and share your feedback in the review section or leave a comment here. Don’t forget to subscribe for more updates and fantastic recipe ideas!
FAQs
Q: Can I use regular flour instead of whole wheat flour?
A: Yes, but whole wheat flour is preferred because it offers more fiber. If your dog has sensitivities, you may opt for gluten-free flour alternatives.
Q: Are these treats safe for dogs with allergies?
A: Always check with your veterinarian if your dog has specific allergies. You can easily substitute ingredients like peanut butter and flour to accommodate their needs.
Q: How often can I give these treats to my dog?
A: These treats can be given in moderation, but it’s best to ensure they complement your dog’s regular diet and not replace balanced meals.
Q: Can I add other flavors to the treats?
A: Absolutely! You can mix in mashed bananas, pumpkin puree, or even bacon bits for added flavor, just ensure they are safe for your dog.
Q: How long can I store these treats?
A: If stored in an airtight container at room temperature, they can last up to two weeks. Refrigerating or freezing extends their shelf life even further.
Print
5 Powerful Homemade Dog Dental Treats You Can Make Easily
- Total Time: 30 minutes
- Yield: 24 treats 1x
Description
Discover 5 easy homemade dog dental treats Make healthy tasty snacks at home that promote your pups oral care and keep them happy 155 chars
Ingredients
Instructions
Notes
These five easy homemade dog dental treats are perfect for maintaining your canine companion’s dental health while providing a tasty reward.
- Prep Time: 15 minutes
- Cook Time: 15 minutes
- Category: Dog Treats
- Cuisine: American
Nutrition
- Serving Size: 24 treats
- Calories: 50
- Sugar: 0g
- Fat: 3g
- Carbohydrates: 7g
- Fiber: 1g
- Protein: 2g